
What? - A blind hem is a type of stitch that is done so that it prevents the fabric from unraveling, but isn’t visible from the “right” side of the fabric.
Why? - Blind hems are often used when you don’t want to be able to see a row of stitching on the finished product. For example, window hangings, skirts, and dressed are often hemmed along the bottom with a blind hem.
How? - Although I have used a blind hemming foot in this tutorial it is possible to do it without, it will just take longer and you will need to pay very close attention to where your needle is on the fabric. You also need a blind hem stitch on your machine, this looks like a few straight stitches followed by two zigzag stitches (one off to the side, one back to the line) using the powers of keyboards this is a rough representation _ _ _ /\ _ _ _ /\_ _ _ etc
Step 1: - Fold and pin a standard double fold hem (fold once wrong sides together, then fold again to catch all loose ends)


Step 3: Place the garment on your sewing machine. You want to line up the fold against the runner on the hemming foot, so that when the needle hits the apex of the zigzag stitch it only just catches a few strands of the right side. (keep reading and check the pictures, this makes a lot more sense at the end) and stitch. Be very careful to make sure the fabric stays inline and doesn't go too far onto the good side.

Step 4: You should now have a hem that looks like this:
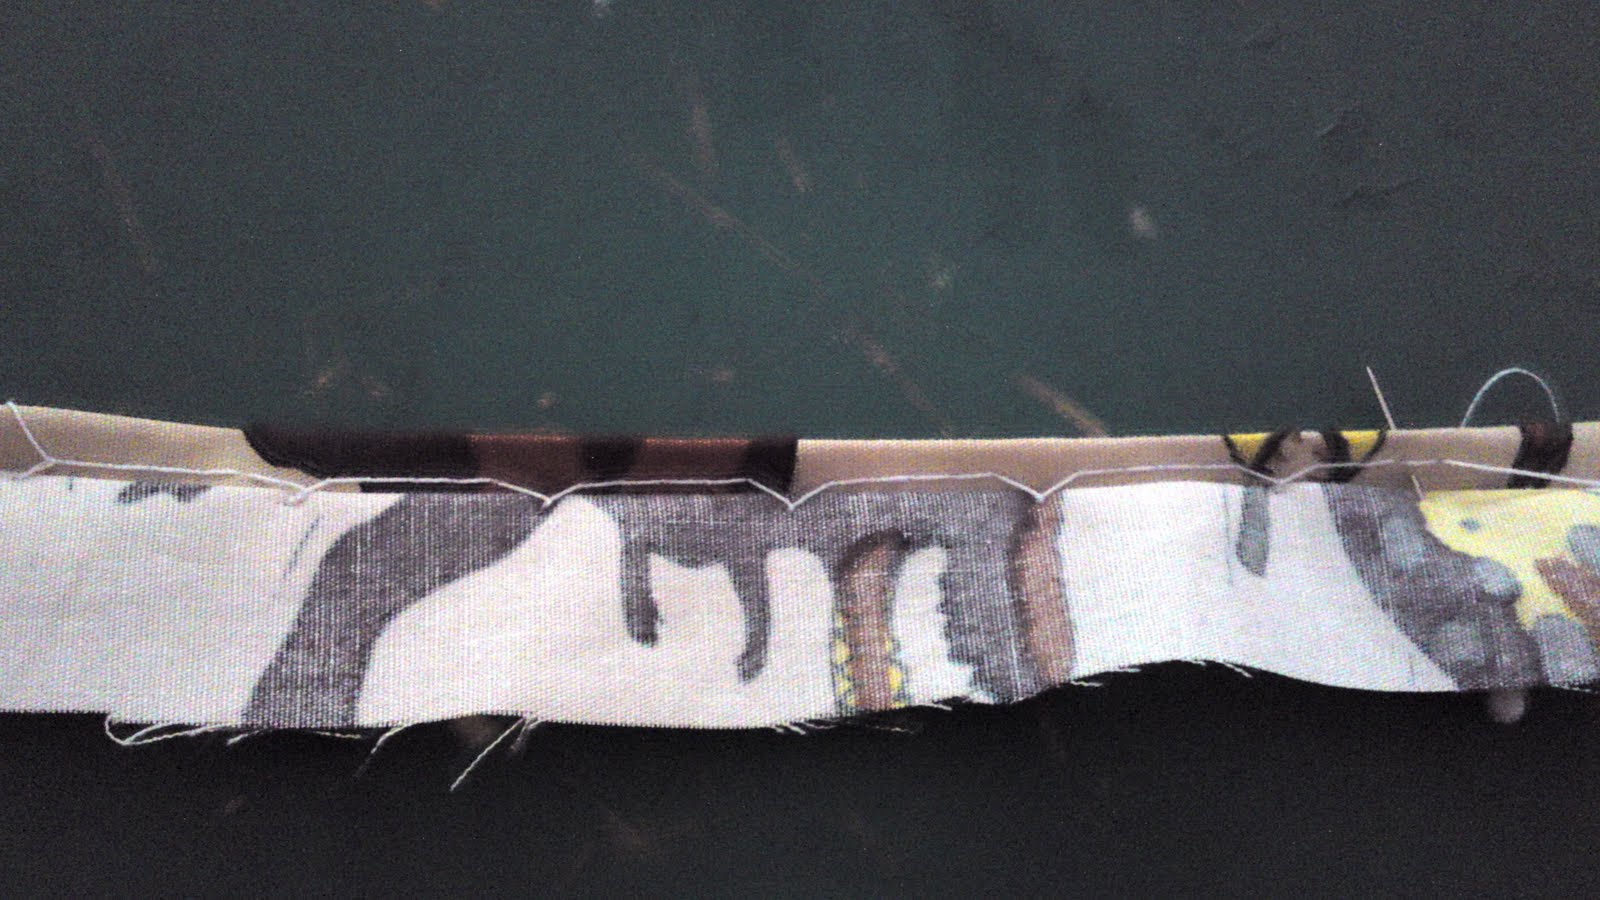


Viola! One lovely blind hem! It's always worth practicing on a scrap piece first just to get the hang of it, but honestly it's a very simple and effective technique once you get the hang of it!!
If you have any suggestions for further JEs them please either leave a comment, or email me louisedesigns@live.com


No comments:
Post a Comment