
Step 1:First take the main piece and turn it over so the back of the fabric faces you. Then take the bias tape and unfold, pin the very edge of the tape to the material, so the right side of the tape faces the wrong side of the fabric, (see the pic below of that doesn't make sense)

Step 2: Run the pinned pieces through the sewing machine, alternatively you can just tac stitch these in place, but I find the machine is quicker

Step 3: Now flip your piece over, then pin and stitch from the top side as normal. As the back side is firmly secured in place you only have to worry about making the front look pretty!

The back turns out neat enough, not 100% perfect but after all it's only the back ;)

And the front ends up lovely!

Step 4: Sit back and bask in the loveliness of your bias stitching! Just so you know what can be done below is what I'm currently working on, made from 4 separate pieces due the nice fun shape in the middle!
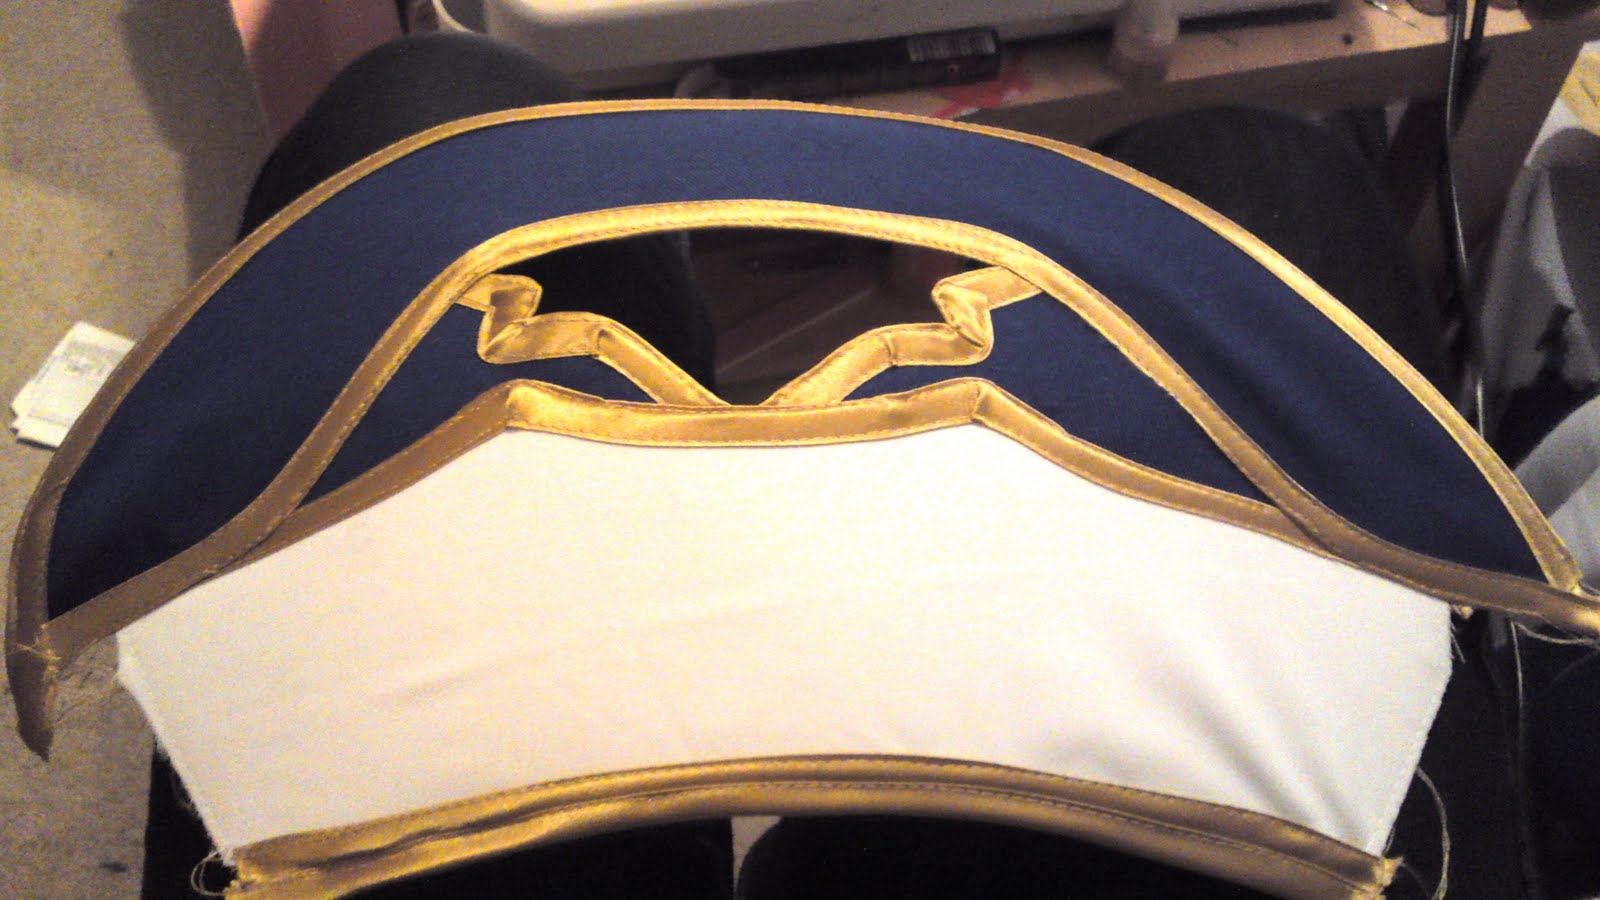
Additional steps - Corners:
Corners are possibly the most awkward part of any bias stitching, especially the inner corners, as you can see from the example above I've had to deal with them all!Outer corners: These are the ones that point outwards and are the easier of the two. When stitching the underside make sure you allow plenty of fold, and if in doubt, stop the stitch one side of the corner and resume the other side. Then when you pin the right side pin up the corners on both sides then tuck half of the fold under the other side so that the crease is at a 45 degree angle to the tape and pin.

Carefully pin the top flap this section in place removing the original pin and take extra care when sewing, only removing the pin at the least minute to avoid the nicely placed fold moving.

Inner corners: These are the more difficult ones to sew. When stitching the back I highly advise stopping the stitch approx 1cm either side of the fold. When you come to pin the right side you will need to work from one side to the other pinning as you go and tucking the corner inside it's self. You will use more bias that you would first think for these corners as it almost double backs on it's self to fold properly. As with the outward facing corners, take care when stitching, only removing the pins when you really have to to stop you folds moving


This is how inner and outer corners will end up looking. Apologies that the above shots are not from the same piece, I had to re-tale those pics after I'd made it, but the picture below was made in exactly the same way

With corners you will sometimes find that the bias at the back isn't secured as neatly as you'd like, so run a quick simple slip stitch round it to hold in place, a simple stitch is fine as it's mostly for decoration and not for hold.
Now go forth and bias those difficult shapes, nothing to pointy can't be conquered!!


No comments:
Post a Comment